|
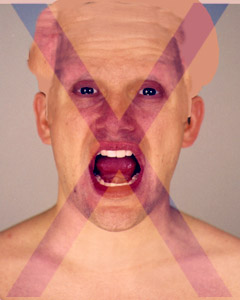
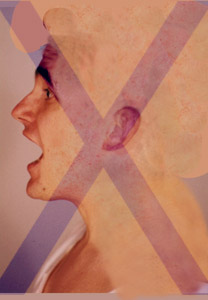
Textures were based
on photographs of my face taken with a 35mm camera and lit to be very
flat with a little shading and highlights as possible (a light application
of face powder helps with hotspots). We took shots from the front, both
sides, back, as well as close-ups of the teeth/gums, tongue and eyes.
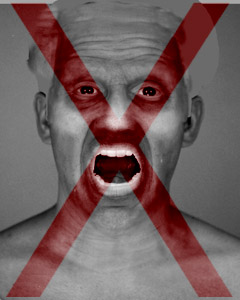
These were developed and scanned into the computer at 300 dpi. Photoshop
was used to do serious color correction and retouching. Extensive use
of the Burn, Dodge and Clone tools were needed to get a satisfactory color
map. Careful attention was paid to the removal of any internal shading
in the image, and the areas around the eyes, teeth, hairline, etc. were
cloned out to prevent these areas from showing of the "flesh"
of the mesh. Four main skin color maps were created: Front, Left, Right
and Back....as well as an additional "shoulder skin" map to
cover a gap at the bottom edge of the neck due to poor planning of the
mapping and maps. This was easier to do than to re-plot all of the Texturizer
points to allow for a new "Front" map with an extended shoulder
area. It would not be an issue with standard 3ds max mapping. Each color
map was then converted to grayscale to create their respective bump maps.
More use of the Dodge and Burn tools, as well as some color correction
were needed to get the bump maps looking right. These were duplicated
again and altered further to create shininess maps. Any areas of the face that are normally more shiny or oily were made lighter, and less shiny areas made darker.
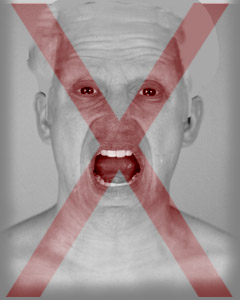
Mask maps were created to properly blend the textures together
in the material. I made
grayscale mask maps for the side (both sides share the same mask), back
and shoulder maps. These were saved as separate maps instead of embedded
alphas since so may maps would use the same mask. Not only did this save
memory in 3ds max, it allowed quick update of the masks without having to
fix and save the alpha of every texture map. Texture maps for the eyes,
gums, teeth, and tongue were created in pretty much the same way.

|
 MicroScribe 3D Digitizers
 FaroArm OEM Partner/Distributor