|
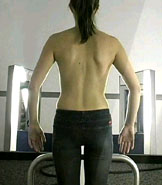
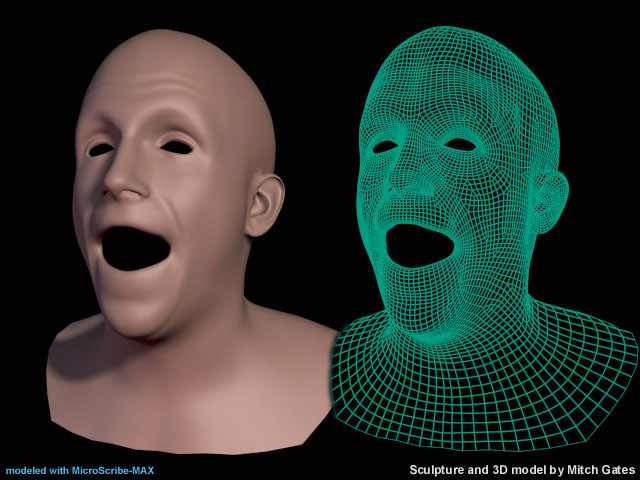
Digitizing the lifecast manually provided the quickest and most direct way of controlling the layout of the geometry (which is ideal for animation), while accurately capturing the details of the complex surfaces that were needed. Below is an image showing the digitized surfaces more clearly.
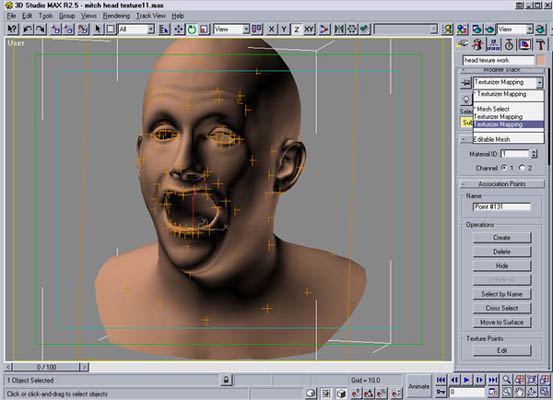
Texturing was done
with four sub-mat ID's and only two channels of mapping for any
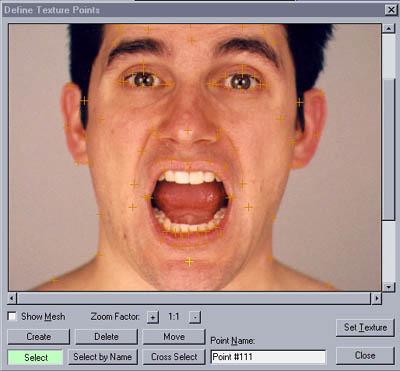
given ID. Mapping coordinates were created with the help of Sven Technology's
Surface Suite Pro. The Texturizer modifier allows you to create association
points on both the model and the texture map in order to make them fit.
This prevents having to export out a wireframe uv image with something
like UVW Unwrap utility and altering your texture map to
fit that in a 2D package. Although Surface Suite really sped things up,
everything you see on the final head can be done without it if you have
the patience. It would require altering the texture maps to fit the UVW
coords....a job best achieved in a morphing package like Elastic Reality.
Or if you are really limited, you could use 3ds max's Unwrap UVW modifiers. Although Surface Suite allows some pretty complex layering of sub-materials via the MultiMask
Material, I kept everything limited to only two mapping channels and one
material ID per face in order to allow collapsing the model down to an
Editable Mesh. I don't like working with a mesh with tons of complex
modifiers when it is going to be animated using skin deformation tools, and the addition
of hair generation plugins being used on the head made this more important.
The Sub-material ID's
were broken into the following groups: #1-left/front of the head, #2 right/front,
#3 back of head, #4 inner edge of the eyelids and inside mouth faces.
The Mapping was applied in the following manner: Channel 1 mapping was
applied from the front (planar, using Texturizer), Channel 2 from the
side, and a second Channel 1 was applied to the back faces only (submat
#3) in order to allow a unique Texturizer modifier for that area. This
would not be needed if you are distorting your texture in a 2D package
to fit the mesh, since the coordinates on the front and back would be
the same. Keep in mind that since Texturizer forces you to assign it's
mapping to a specific material ID, I
did all of the mapping coordinates first, then assigned material ID's. This
allowed multiple material ID's to share mapping channels for proper overlap
and blending of textures. Once again, this order would not be needed if
you were using the standard 3ds max UVW Mapping. You could assign your Material
ID's first if you like.
|


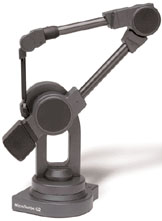 MicroScribe 3D Digitizers
 FaroArm OEM Partner/Distributor